Vector Tiles with MapLibre GL in React Leaflet
Free
Starter
Standard
Professional
If you're building a web application using React and are looking to add a geospatial component, you've probably come across React Leaflet in your search. React Leaflet lets brings the battle-tested Leaflet library to the React ecosystem with an idiomatic wrapper.
Out of the box, Leaflet is designed to work with raster map tiles. These work great for most applications, but have an important limitation: the tiles are static images that can't change. If you want to change the map style in any way (for example, to adjust to the user's language preference), you need to use vector tiles.
Info
If you want to use vector tiles in Leaflet using plain JavaScript, check out our Leaflet Vector Quickstart.
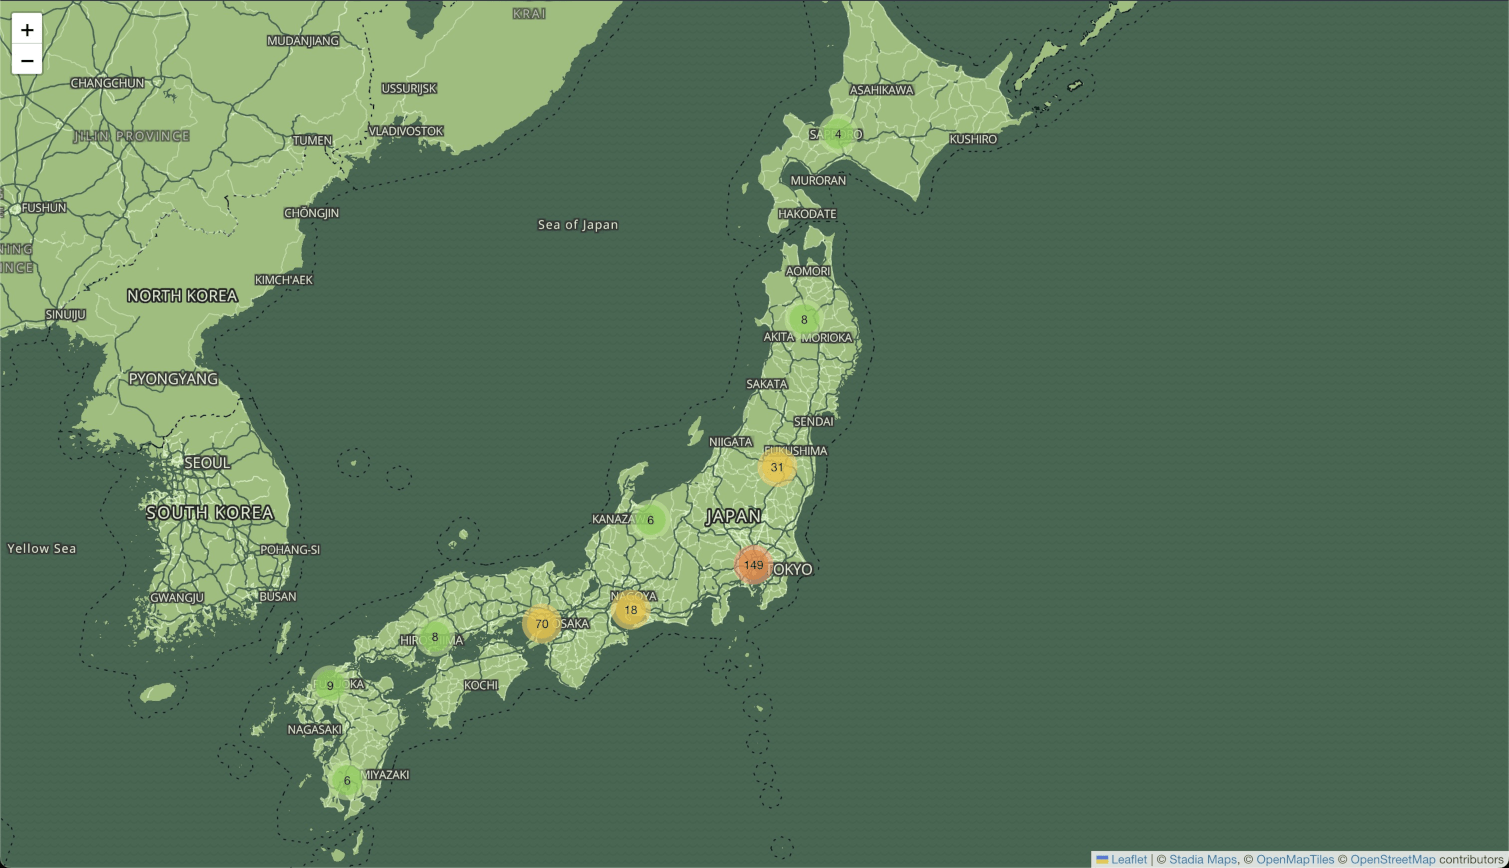
In this tutorial, we will learn how to build a map with vector tiles using React Leaflet and the MapLibre GL Leaflet plugin. As our motivating example, we will use the map of video arcades in Japan that we created in Getting Started with React Leaflet. If you want a "from scratch" intro to React Leaflet, give that a read, but if you are already using React Leaflet, no further background is necessary. Let's dive in!
Demo Code
You can clone the full code for this tutorial from
GitHub and follow
along to save typing. This repo has both raster and vector code, so you'll need
to set useVectorTiles = true in index.js.
Setup
The only dependency you need to add to your existing React Leaflet project is MapLibre GL Leaflet.
npm install --save @maplibre/maplibre-gl-leaflet
Create the MapLibreTileLayer
Previously, you probably added tile layers to your maps using the TileLayer
component from React Leaflet. Let's write a replacement that loads a MapLibre
style instead of fetching tile images.
import {
    type LayerProps,
    createElementObject,
    createTileLayerComponent,
    updateGridLayer,
    withPane,
} from '@react-leaflet/core'
import L from 'leaflet'
import '@maplibre/maplibre-gl-leaflet'

export interface MapLibreTileLayerProps extends L.LeafletMaplibreGLOptions, LayerProps {
    url: string,
    attribution: string,
}

export const MapLibreTileLayer = createTileLayerComponent<
    L.MaplibreGL,
    MapLibreTileLayerProps
>(
    function createTileLayer({ url, attribution, ...options }, context) {
        const layer = L.maplibreGL({style: url, attribution: attribution, noWrap: true}, withPane(options, context))
        return createElementObject(layer, context)
    },
    function updateTileLayer(layer, props, prevProps) {
        updateGridLayer(layer, props, prevProps)

        const { url, attribution } = props
        if (url != null && url !== prevProps.url) {
            layer.getMaplibreMap().setStyle(url)
        }

        if (attribution != null && attribution !== prevProps.attribution) {
            layer.options.attribution = attribution
        }
    },
)
If you're in a hurry, just copy+paste this into a file named MapLibreTileLayer.ts and call it a day.
This component creates a React Leaflet tile layer backed by the MapLibre GL Leaflet plugin. Under the hood, this leverages MapLibre GL JS to render vector tiles using the provided style URL, and ensures that updates to the properties (ex: as you edit your JSX/TSX files, or change the properties dynamically), are reflected on the map.
Use MapLibreTileLayer in place of TileLayer
Now all that's left to do is use the new tile layer! Note that this does not currently support every property of
the Leaflet TileLayer, but it is otherwise a drop-in replacement!
<MapLibreTileLayer
attribution='© <a href="https://stadiamaps.com/" target="_blank">Stadia Maps</a>, © <a href="https://openmaptiles.org/" target="_blank">OpenMapTiles</a> © <a href="https://www.openstreetmap.org/copyright" target="_blank">OpenStreetMap</a>'
url="https://tiles.stadiamaps.com/styles/alidade_smooth_dark.json"
/>
Next Steps
You aren't limited to using one of our vector styles. Learn about how to create your own using our tiles in our
documentation on custom styles, or check out our tutorial on
changing the language of place labels on the map.
We've even included a fun Game Boy-inspired theme in the example repo,
so be sure to check that out! The repo has both raster and vector code, so you'll need
to set useVectorTiles = true in index.js to see the vector version.
And of course, don't forget to check out the React Leaflet documentation.
Once you're ready to show your creation to the world, don't forget to sign up for a free Stadia Maps account, and we'll guide you through what to do before deploying.