Using Stadia Maps Tiles in MapKit
Free
Starter
Standard
Professional
Apple's MapKit makes it easy to add maps to your apps running on iOS, macOS, and more. We're huge fans of MapLibre Native and its slick vector rendering, but it's hard to beat the convenience of MapKit. MapKit works on just about any Apple device from the iPhone to the Vision Pro, and is a familiar API to most app developers.
By combining Stadia Maps tiles with MapKit, you'll be able to keep a unified look across all platforms, get access to the latest satellite imagery, use the map offline, and more. This tutorial will show you how.
Before we get started, you'll need a Stadia Maps API key. You can sign up for free, and no credit card is required! After signing up, follow the prompts to create a property and API key.
Get Started With a Free Account
Setting up your view
If you haven't already added an MKMapView to your app,
add one now.
If you're using storyboards, you can search for the map view control and add it to your layout.
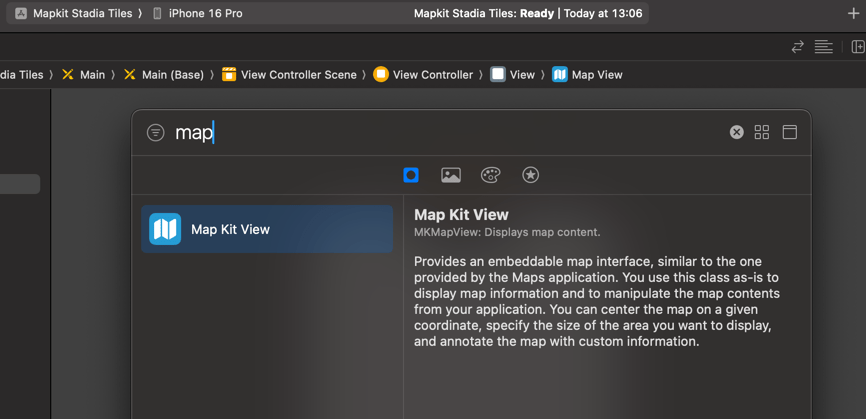
You'll also need to hook it up via an outlet to access it from code later.
import UIKit
import MapKit

class ViewController: UIViewController {
    // The new outlet
    @IBOutlet var mapView: MKMapView!

    // The rest of your view controller...
}
Finally, don't forget to hook up the outlet in the storyboard!
Right-click on the map view, drag your mouse to the view controller,
and select the mapView outlet.
If you're creating your views in code,
just add a new instance variable to hold the MKMapView
and add the map as a subview.
import UIKit
import MapKit

class ViewController: UIViewController {
    var mapView: MKMapView!

    override func loadView() {
        // Set up your own view hierarchy
        mapView = MKMapView()
        view = mapView
    }
}
Tip
Don't forget to add constraints too!
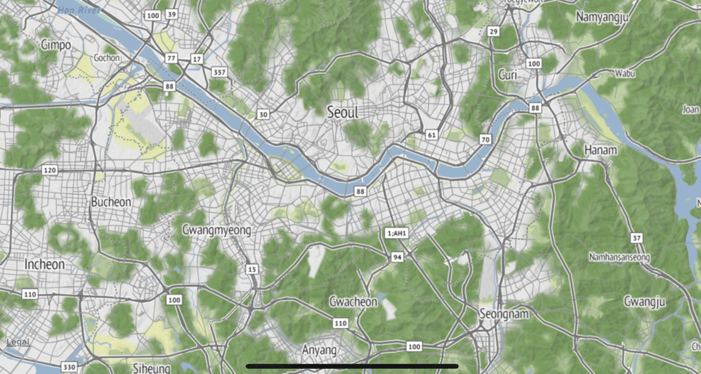
Using Tiles from Stadia Maps
Let's switch out the map style now. This way we can implement our own caching, use the iconic styles from Stamen Design, or get up-to-date satellite imagery.
Adding the Swift Package
To make things easy, we've put together a Swift package that does most of the work for you!
Add the dependency to your project
with the repository URL https://github.com/stadiamaps/mapkit-layers.
The overlay and renderer in the package automatically handle caching for you, and will show over-zoomed tiles from the cache while higher zoom levels are loading.
Adding the overlay
To add the overlay to the map, instantiate it in your viewDidLoad method like this:
override func viewDidLoad() {
    super.viewDidLoad()

    let overlay = StadiaMapsTileOverlay(apiKey: stadiaApiKey, style: .stamenTerrain)
    mapView.addOverlay(overlay, level: .aboveLabels)
}
This adds our overlay above all existing map layers. MapKit is smart enough (thanks to our overlay configuration) to not render any of the default Apple layers.
Additional configuration
You can also configure the overlay to use a different caching policy, or only use EU endpoints. EU endpoints ensure your requests are routed to our servers in the EU, in case you are concerned about where your traffic is routed (note that for users outside Europe, this may be significantly slower). You can also change the cache policy. This allows you to always use the locally cached copy even if it's expired, and/or to manually force a region to download.
Next steps
Continue learning about what you can build with MapKit from Apple's documentation. The annotations in particular go a long way in creating polished map experiences.
And, in case you've just been reading along but haven't tried it out yet, be sure to grab an API key!